
It's time for the end of year faves post. This year has been a year of Heidi Swapp here in the studio. I have always loved all things vintagy and grungy, and this year Heidi sort of took over my crafty vision, and it seems everything has changed. LOL We're supposed to grow and evolve in all aspects of our lives, right? Well, this seems to have been the most drastic for me as I look back on the year's favorites. So many projects I really loved creating this year! I hope you enjoy this look at the past 12 months. :)
From The Heart, Valentines with Lindsay

This is the little tag book I made for hubsy for Valentine's Day. I created the box too and it all turned out so cute. I couldn't miss with these gorgeous papers by Simple Stories and Heidi Swapp's stamp sets. 


My Easter wreath. I loved this one so much I colored my Easter eggs in the same way!


Just a tag I love.

My summer wreath. Made from all Dollar Tree materials. I fell in love with their summer collection!

You may remember this awesome Fourth of July book project we made last summer, if you follow my blog. We started with a book from the thrift store, removed the pages and used the cover to create our own book.

This is the first time I had done anything like this and I really loved it. It's a really fun technique. It was also a Heidi Swapp class, Freedom Unedited, which you can purchase in her store. Many of her classes are on sale right now; this one included.

This was Heidi's Ten Day Tag Challenge. I love doing the challenges and this was no exception.

My favorite tag of the challenge. I google searched vintage flight tags and created my own using the originals as examples. Fun!

This is the photo I used for the tag; my birthday in Montenegro on my first cruise a few years ago.

Vintage flight tag replicas


Oh my. This project might be my favorite I have ever made. This was the Halloween Junk Journal I created along with Toni Tickner of Crafty by Toni. We crafted every day of October to finish the month by putting everything together in this final project. It's an 8.5x11 journal with amazingly fun folds, flips, tucks and pockets inside. It has a magnetic closure. Turned out completely gorgeous if you don't mind me saying so. This blog post has the whole book pictured.

Here are just couple of the inside pages.


Heidi Swapp, Ghost Stories class. See part 1 of 2 in this blog post here. (scroll for part 2.)

One of the pages in the Ghost Stories book. I loved creating this 3D haunted house!

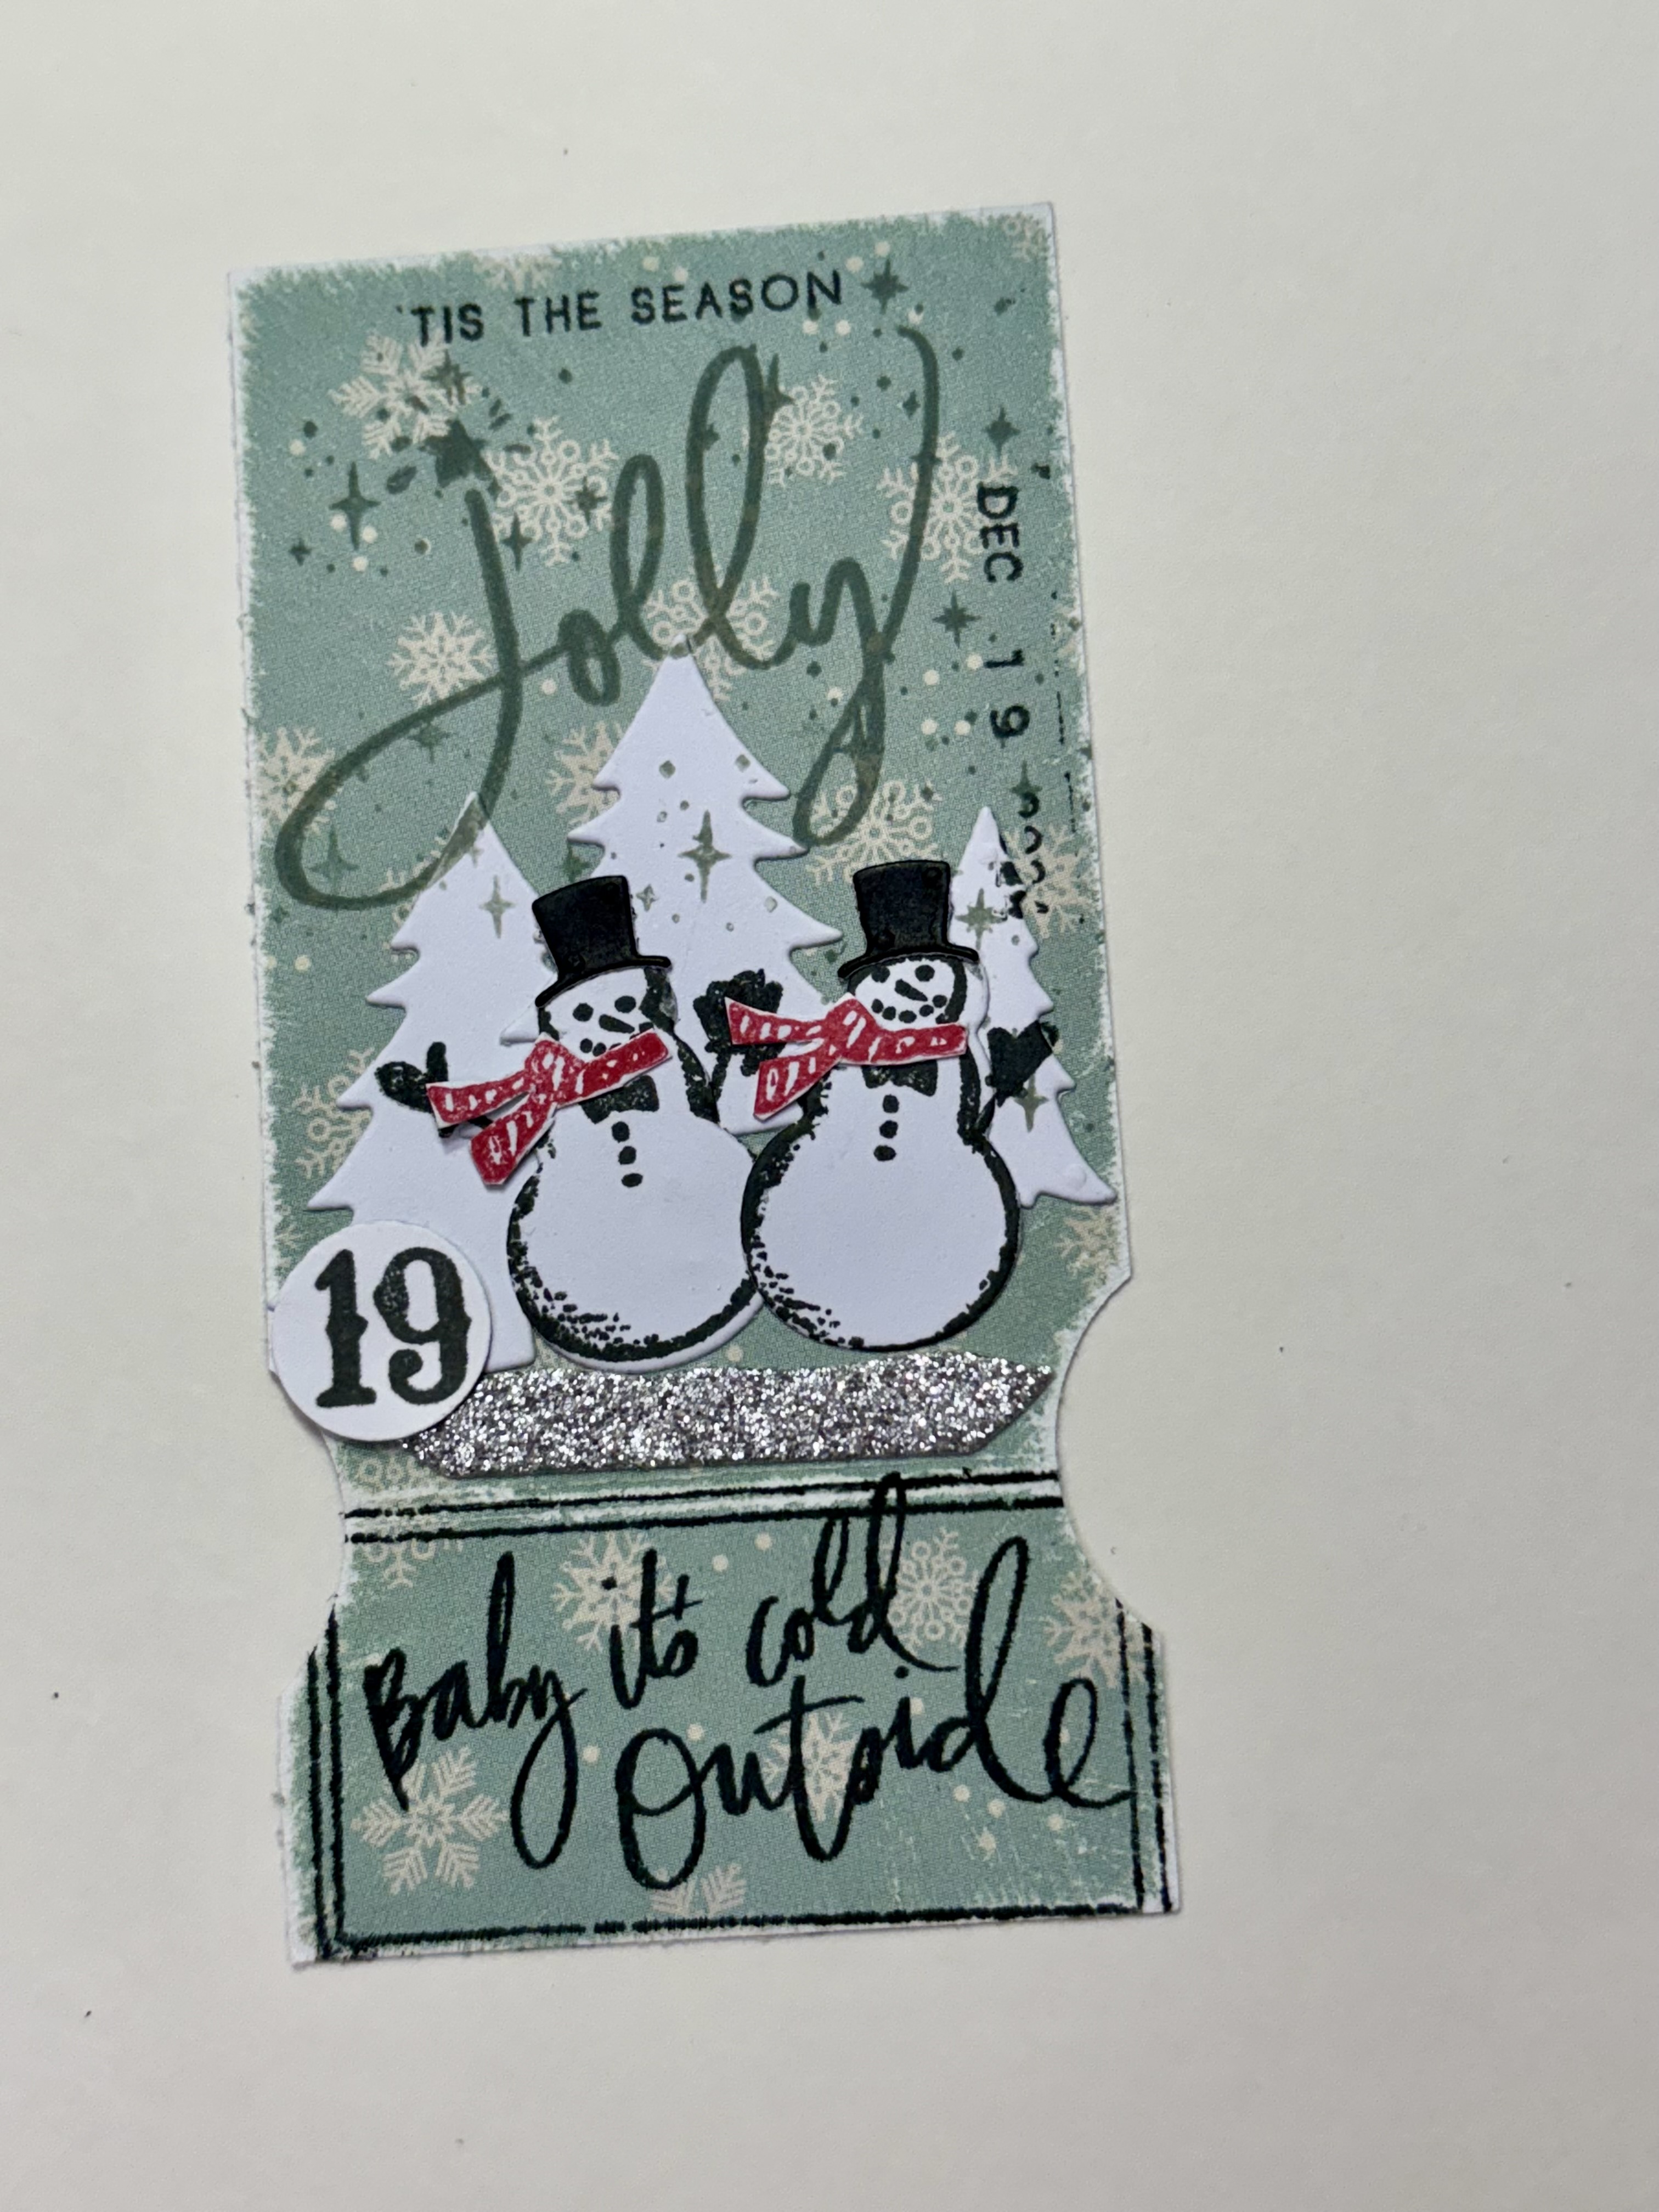
A few of my favorites from Lindsay Bateman's Christmas Advent ticket series. See previous blog posts to see them all. They are posted in three parts.


One of the many interactive pages. This one is a snow globe with five different scenes. Check out this blog post for the rest of the album.

Happy new year, crafty friends! Thank you for following my blog and my crafty journey. I hope I've been an inspiration to you. See you next year.
Much love,


