Tuesday, January 27, 2015

Day 2 Card Class, die cutting techniques

Today's class focuses on die cuts and different techniques for using them. I'm a die girl through-and-through, so this is a super fun class for me. The technique here, is using border dies and creating interest by leaving gaps. Here's my version.


I used Paper Smooches Cyber Cafe stamp set and the stitched scallop border die by My Creative Time. I wasn't sure how I was going to incorporate the sentiment, but decided it looked best split up. To put it all together, I added a few other images from the set - the coffee ring and spills, and the coffee beans. 

Each piece is mounted on foam tape for depth, but as you can see in this view, the gaps give it even more dimension.

It's a fun and easy technique that adds a great look to any card. Give it a try!

If you are interested in taking online classes, click on the badge in the upper right sidebar, or check out all the great ones here at Online Card Classes.

Monday, January 26, 2015

Day 1 Card Class, heat embossing & masking

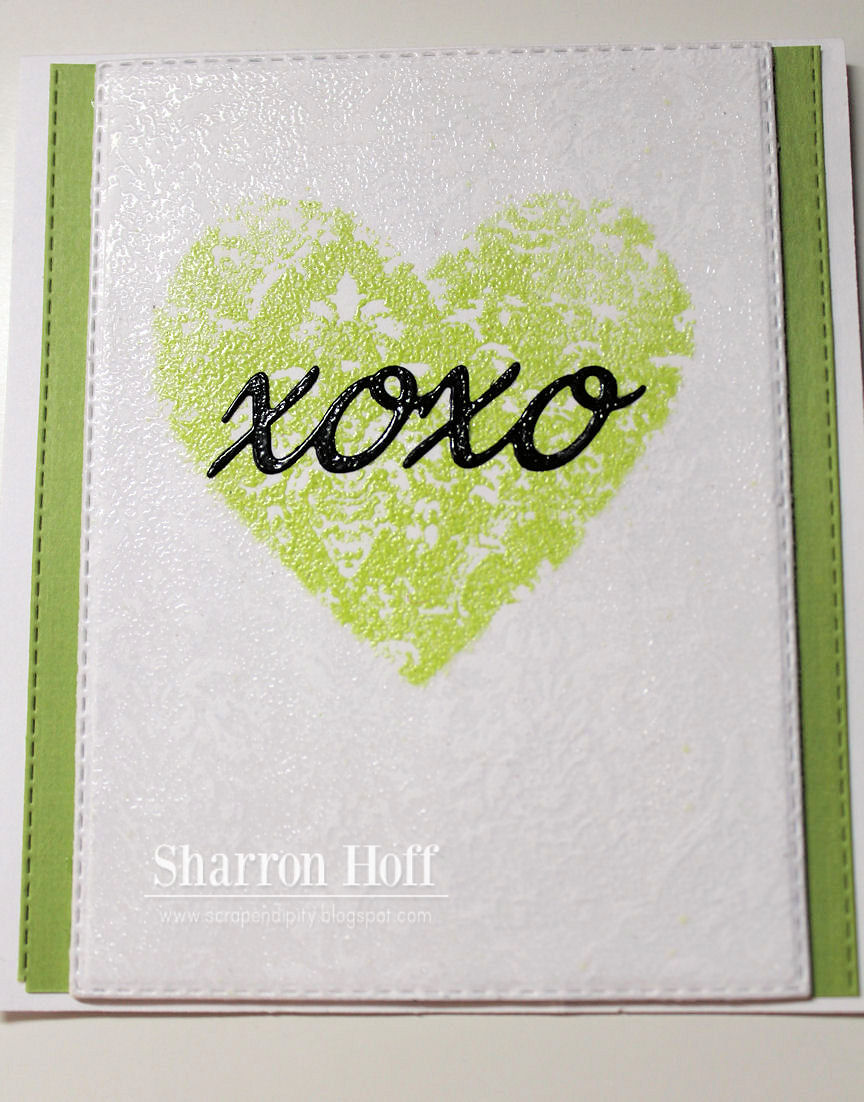
Heat embossing with masking technique. The entire card front is stamped with one background stamp, but using masking you can add another color and still have the continuous flow of the design. Pretty cool.


I used this word die from My Creative Time and heat embossed that as well. Love the look of it. You can see the design better in this one too. It looks to me like my mom's old drapes. LOL

This one is a little better as far as showing the light on the embossing. Pretty cool doing two different colors in one continuous pattern. I think I like it. :)

Day 1 Card Class, faux ceramic tile

Eeek! FUN technique today in Clean and Simple Card Making4 class. I love the look of this faux tile!! I used paper from Echo Park, 6x6 Ahoy There, for the mat behind the anchor.


The anchor and sentiment are by Paper Smooches from the Nauticool stamp set and coordinating dies. I love how it actually looks like a tile with the layers of embossing powder. Way cool!


Thanks for coming by. More to come all week!

Saturday, January 24, 2015

DIY Tiered spinning organizer

As  most of you know, I recently gave the studio a makeover! I'm still in heaven and love every bit of it!! That said, however, it does not mean I won't be making minor changes here and there. I'm always on the lookout for awesome storage solutions....but, really, aren't we all?! LOL
Today I'm sharing how to make a spinning organizer for your worktop. This is the one I did as one of the new storage options for my space. This idea was inspired by this pretty spring-y spinner I saw on pinterest that was made by Regina Easter, seen here.

For my version, I started with pie tins I found at the thrift store. Cost: Less than $1 for all three of them. Score! Candlesticks from Dollar Tree, and the spinner piece from the bottom of a remote organizer we no longer used. Cost so far, $3.00.


You also may know that I have an extreme fondness for spray paint. I LOVE using spray paint to refurbish things that are still usable but maybe don't fit the color in the space where I'll use it. Obviously, in this case, paint was a must. I used this yummy color I like to call Tiffany Blue, which is actually called Blue Ocean Breeze, made by Krylon. For this project, I needed just one can of paint, less than $5. 

For the next part I didn't get any pics; my apologies. But using a compass or whatever works for you, mark the center of the largest pie pan and drill a hole through it the size of the screw that attaches the spinner piece {if you're lucky enough to find one like mine, you've got it made!} You may also choose to skip this part if you don't care to make one that spins. Or you may have to improvise if you can't find a solution as simple as mine turned out to be! Set aside the spinner for now.

Next, paint both sides of the pans and let them dry thoroughly between coats, if you choose to apply more than one. These were good after just two coats. The candlesticks also needed just two coats, but you'll want to be sure and paint the inside as well as the outside. Let everything dry a day or at least overnight.


Now comes assembly. First screw the spinny thing to the bottom of the largest tray. Be sure to test the spin to be sure it's not too tight and spins effortlessly, as there will be no way to adjust after the next step. Next, glue one of the candlesticks to the center of the bottom tray. I used Aleen's Turbo Tacky Glue {that stuff is awesome for gluing glass pieces together}. This covers the screw so there will be no way to make any adjustments to the spinner. Glue the next tray to the top {or bottom, however you place it} of the candlestick divider, then do the same with the second candlestick and smallest/final tray. Be sure to let the glue dry at least overnight to give it a good seal.

There you have it! Simple, yet extremely useful, project for about $8.00. :) Go forth and be creative, bloggy friends! Thanks for coming by the studio today.


Friday, January 23, 2015

MFT Color Challenge #14

This week's challenge is one of my fave color combos. I love these colors especially for winter pages. But my project today is a card. You can play along too! Check it out on the My Favorite Things Card Challenges Blog. I don't have any of the new MFT inks {yet!} so I used papers in the challenge colors. These are from some old Quickutz adhesive back paper pads I've had in my stash for eons. Or so. ;)


For the stack of presents I used the Jingle All The Way stamp set and matching dies. I used white pen for the bows and ribbons, and around each of the cut outs I colored with Copic, Cool Gray No.1 to give it a little depth.

The sentiment is from the Birthday Sentiments stamp set. At first I was bummed that this came out kind of messy. But then I decided I like it and that it looks sort of 'distressed' this way! So I didn't redo it. :)


 Color palette for this challenge:


Products Used:
My Favorite Things, Birthday Sentiments
My Favorite Things, Jingle All the Way stamp set
My Favorite Things, Jingle All the Way die set
My Creative Time, Rectangle Frames dies
Other:
Copic Cool Gray No.1, Sakura white pen, Archival Black ink, Versamark ink, white embossing powder, green twine, Quickutz adhesive back cardstock